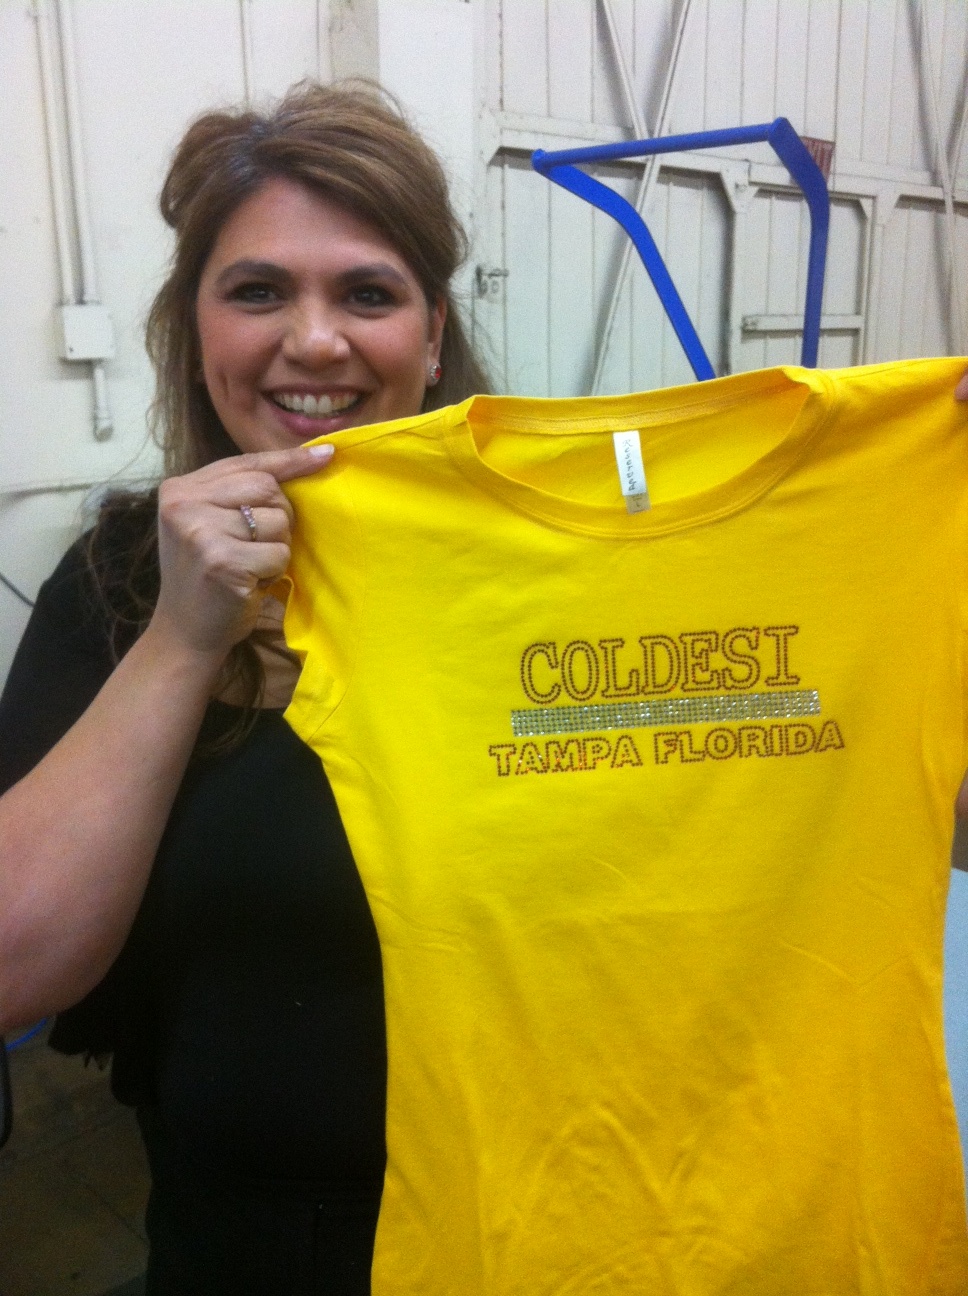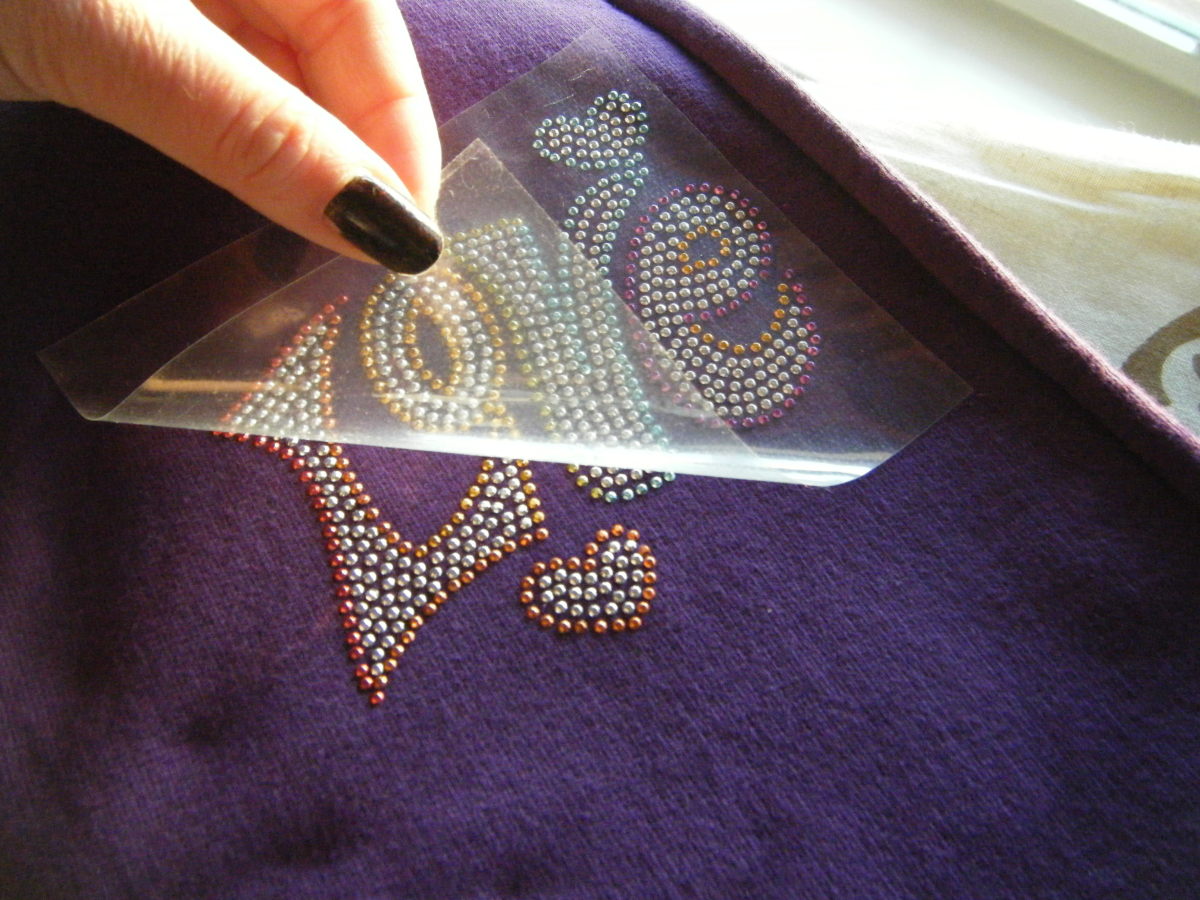
In the realm of fashion, embellishments have long served as a powerful tool for self-expression and personalization. Among the myriad of decorative accents, rhinestones stand out as a timeless favorite, adding a touch of sparkle and glamour to any outfit. While rhinestones can be purchased pre-attached to clothing, the true magic lies in the DIY process of transforming a plain shirt into a dazzling masterpiece. With a few simple supplies, a dash of creativity, and this comprehensive guide, you’ll be well on your way to rhinestoning your way to fashion stardom.
Contents
- 1 Gathering Your Supplies: The Essential Toolkit for Rhinestone Success
- 2 Preparing the Shirt: Setting the Stage for Rhinestone Adherence
- 3 Choosing a Design: Unleashing Your Creative Vision
- 4 Applying the Rhinestones: Bringing Your Design to Life
- 5 Setting the Rhinestones: Ensuring Long-lasting Adherence
- 6 Additional Tips and Techniques: Enhancing Your Rhinestone Creation
- 7 Safety Precautions: Prioritizing Well-being
- 8 Troubleshooting Common Issues: Addressing Rhinestone Challenges
- 9 Flaunt Your Rhinestone Masterpiece
Gathering Your Supplies: The Essential Toolkit for Rhinestone Success
Before embarking on your rhinestone-embellished journey, ensure you have the necessary tools at your disposal:
-
A plain shirt to be rhinestoned: The canvas for your creative vision, choose a shirt that complements your style and allows your design to shine.
-
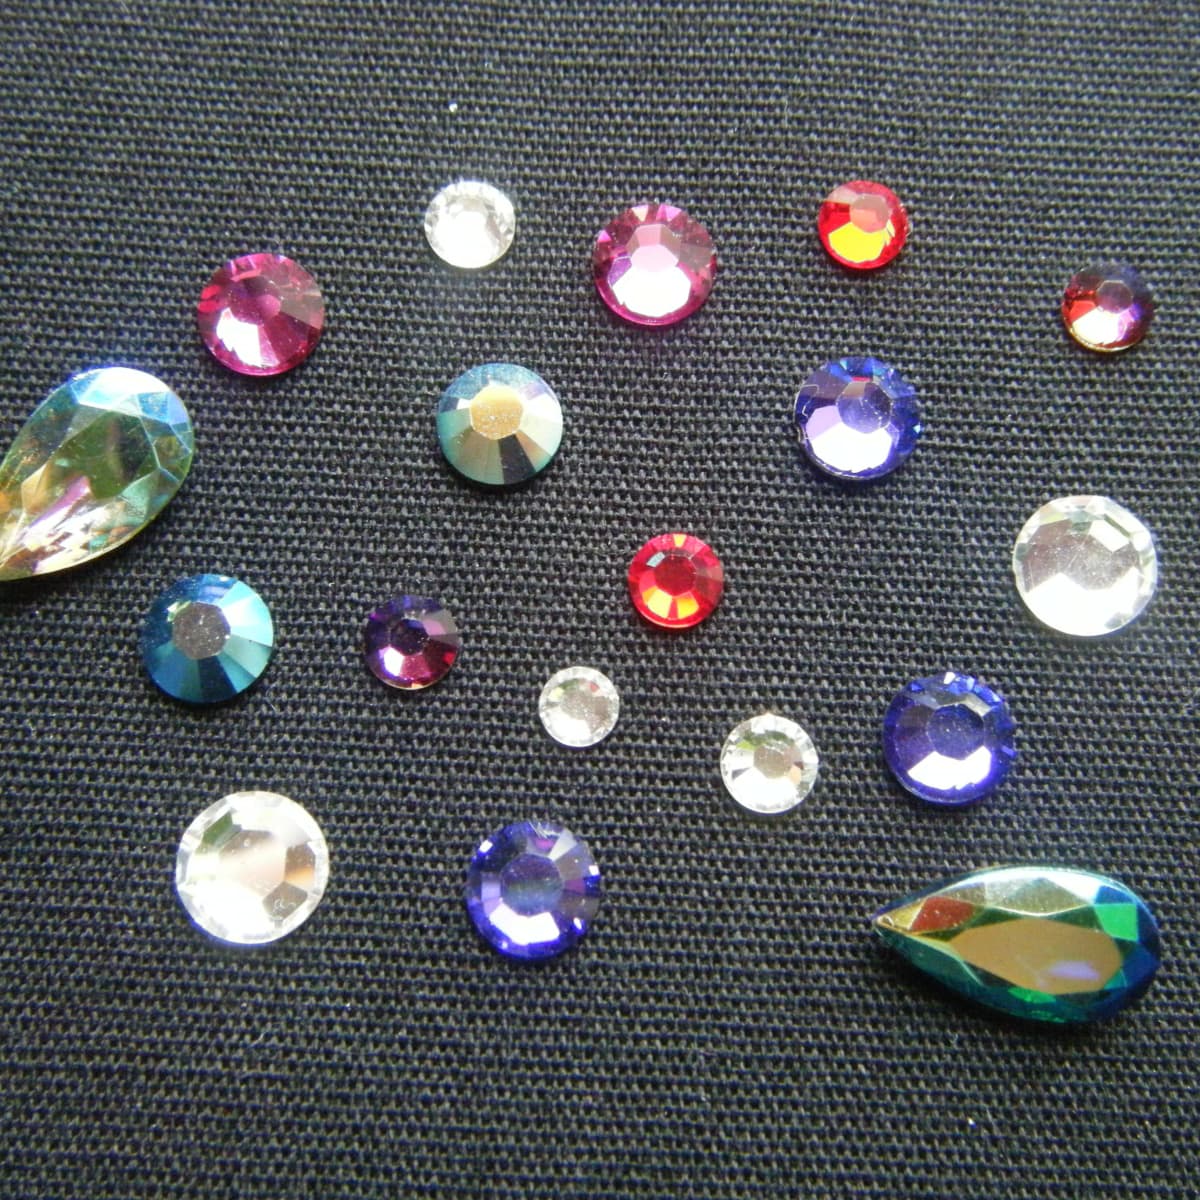
Rhinestones in desired colors and sizes: Let your imagination run wild with an assortment of rhinestones in various colors and sizes to create a unique and eye-catching design.
-
Hot glue gun or fabric glue: The adhesive that will bind your rhinestones to the shirt, choose either a hot glue gun for a fast and secure bond or fabric glue for a more flexible application.
-
Tweezers (optional): For those who prefer precision and control, especially when dealing with smaller rhinestones, tweezers can be a helpful addition to your toolkit.
-
A flat surface: A stable and spacious workspace will provide the ideal platform for your rhinestone artistry.
-
A design template (optional): If you’re not feeling particularly confident in your freehand skills, a pre-made or self-created design template can serve as a helpful guide.

Preparing the Shirt: Setting the Stage for Rhinestone Adherence
Before transforming your shirt into a rhinestone masterpiece, it’s crucial to prepare the fabric for optimal adhesion:
-
Wash and dry the shirt: Ensure the shirt is clean and free of any dirt or debris that could hinder the glue’s effectiveness. Drying the shirt completely will maximize the adhesive properties of the glue.
-
Iron the shirt (optional): Smoothing out any wrinkles will create a flat and even surface, providing a better foundation for precise rhinestone placement.
Choosing a Design: Unleashing Your Creative Vision
The beauty of rhinestoning lies in the endless possibilities for creative expression. Consider these factors when selecting your design:
-
Shirt style: Adapt your design to complement the style of the shirt. A simple tee might call for a minimalist design, while a button-down could accommodate a more intricate pattern.
-
Sketching or using a template: If you’re a visual learner, create a rough sketch of your desired design. Alternatively, utilize a pre-made template for precise placement and symmetry.
-
Experimenting with patterns: Explore different patterns, ranging from geometric shapes and floral motifs to personalized messages or symbols that reflect your unique style.
Applying the Rhinestones: Bringing Your Design to Life
With your design in mind and your supplies ready, it’s time to bring your rhinestone creation to life:
-
Heating up the glue gun: If using a hot glue gun, follow the manufacturer’s instructions to safely heat it up to the appropriate temperature.
-
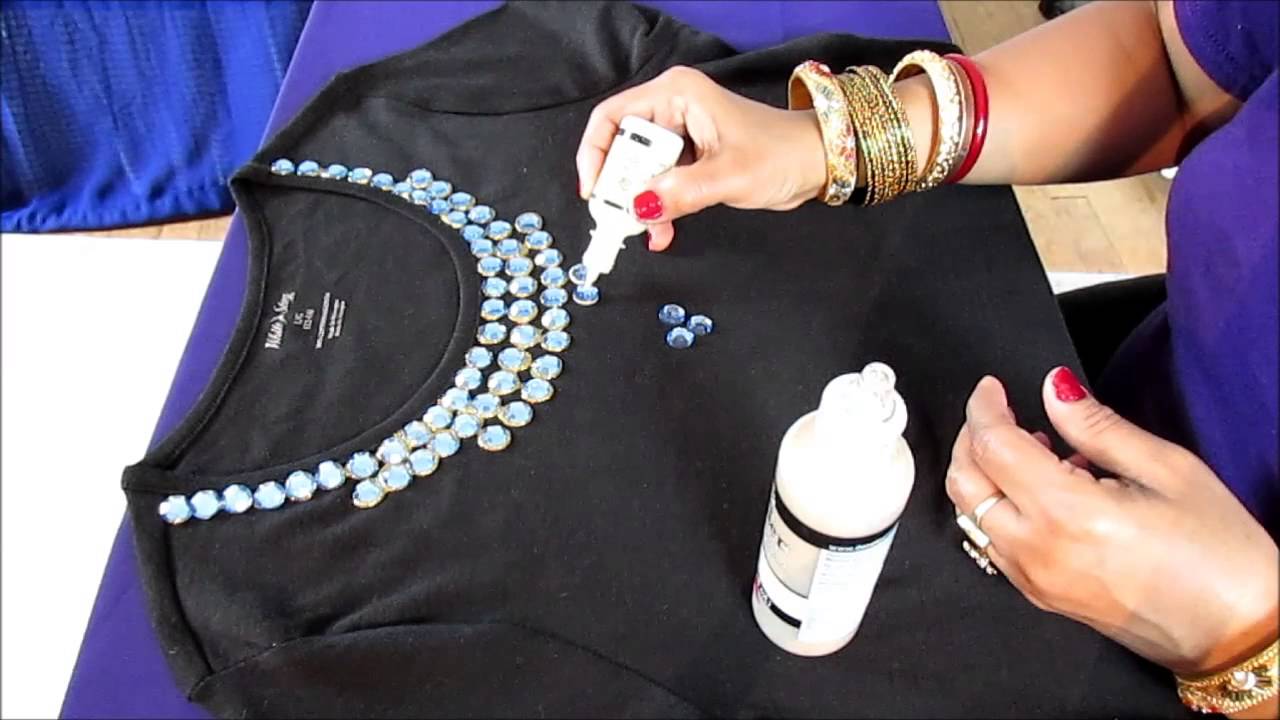
Applying glue to individual rhinestones: Using the hot glue gun or fabric glue, carefully apply a small amount of glue to the back of each rhinestone.
-
Placing rhinestones according to the design: With steady hands, gently place each rhinestone onto the shirt, following your chosen design or template. For smaller or intricate rhinestones, tweezers can provide more precision and control.

-
Setting the Rhinestones: Ensuring Long-lasting Adherence
Once all the rhinestones are in place, it’s time to ensure they adhere securely to the shirt:
-
Allowing the glue to cool completely: Give the glue ample time to cool and dry completely before handling the shirt. This will prevent the rhinestones from shifting or falling off.
-
Pressing the rhinestones (optional): Once the glue is cool, gently press each rhinestone with your fingers or a flat object to ensure a strong and lasting bond.
Additional Tips and Techniques: Enhancing Your Rhinestone Creation
Elevate your rhinestone masterpiece with these additional tips and techniques:
-
Variety of rhinestone sizes: Combining different rhinestone sizes can add depth, dimension, and visual interest to your design.
-
Layering rhinestones: Experiment with layering rhinestones of the same or different colors to create a bolder and more impactful look.
-
Matching rhinestones to the shirt: Choose rhinestones that complement the color of the shirt to create a cohesive and visually appealing design.

-
Safety Precautions: Prioritizing Well-being
When working with hot glue guns or other crafting materials, safety is paramount:
-
Hot glue gun handling: Always handle a hot glue gun with care, keeping it pointed away from yourself and others to prevent burns.
-
Ventilation: Work in a well-ventilated area to avoid inhaling fumes, especially when using hot glue.
-
Supervise children: If children are involved, provide close supervision and guidance to ensure they handle the materials safely.
Troubleshooting Common Issues: Addressing Rhinestone Challenges
Even the most meticulous rhinestone artist may encounter a few bumps along the road. Here’s how to address common challenges:
-
Rhinestones falling off: If a rhinestone falls off, it’s likely due to insufficient glue or improper drying time. Reapply a small amount of glue and firmly press the rhinestone back in place while the glue is still warm.
-
Glue residue on the shirt: If excess glue leaves a mark on the shirt, use a soft cloth or a cotton swab dipped in nail polish remover (check the label for compatibility with your shirt’s fabric) to gently remove the residue. Be sure to test the remover on an inconspicuous area first.
-
Uneven rhinestone placement: Don’t fret if a rhinestone isn’t perfectly aligned. As long as the glue hasn’t dried completely, you can carefully reposition it for a more precise placement.

Flaunt Your Rhinestone Masterpiece
With your rhinestoned shirt complete, it’s time to showcase your creation to the world! Embrace the opportunity to express your unique style and creative vision through this dazzling garment. Don’t be afraid to experiment and personalize your design to reflect your individuality. Remember, safety always comes first when working with hot glue guns. Share your rhinestone masterpieces online or with friends and family to inspire others to embrace the art of DIY embellishment.
Additional Inspiration: Beyond the Basic Rhinestone
The world of rhinestone embellishments extends far beyond the classic sparkling crystal. Consider these ideas to further elevate your design:
-
Exploring different rhinestone shapes: Experiment with rhinestones in various shapes like stars, hearts, or circles to add visual interest and create unique patterns.
-
Incorporating other embellishments: Don’t limit yourself to rhinestones! Combine them with beads, sequins, or embroidery for a more intricate and textured design.
-
Staying updated on fashion trends: Keep an eye on current trends in rhinestone embellishments. Consider incorporating elements like color-blocking, geometric patterns, or asymmetrical designs into your own creations.
With this comprehensive guide and a dash of creativity, you’re now equipped to transform plain shirts into dazzling masterpieces. So, grab your rhinestones, unleash your inner artist, and get ready to “bling it on”!
-


