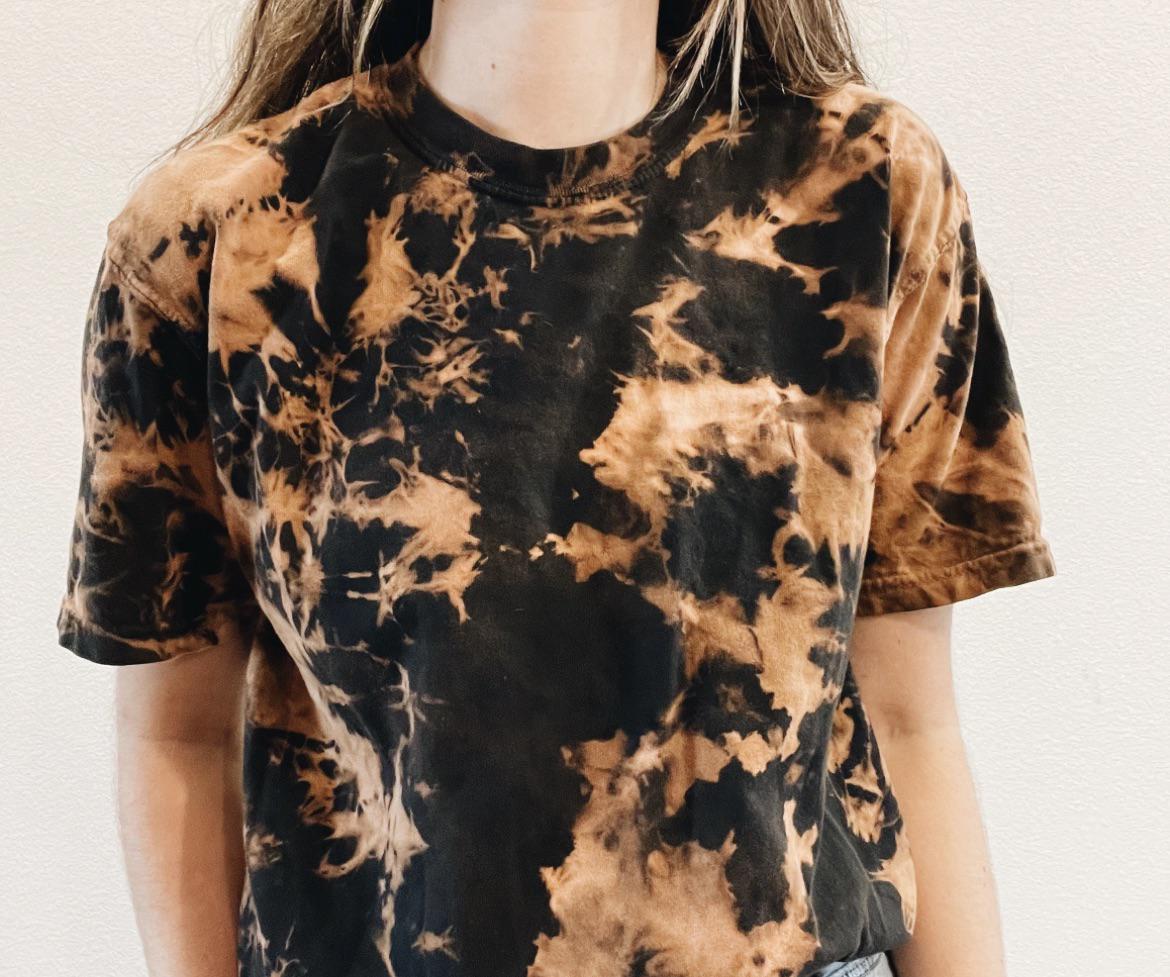
In the realm of fashion, versatility reigns supreme, and the humble black T-shirt stands as a testament to this principle. Its blank canvas nature invites creativity, making it a prime candidate for DIY fashion projects. Among these projects, bleaching black T-shirts has gained immense popularity, empowering individuals to express their unique style and transform ordinary garments into eye-catching masterpieces.
Contents
- 1 Gathering the Necessary Supplies: Setting the Stage for Success
- 2 Preparing the T-shirt for Bleaching: Setting the Foundation
- 3 Creating the Bleached Design: Unleashing Your Creativity
- 4 Working in a Safe Environment:
- 5 Allowing the Bleach to Work Its Magic: Patience is Key
- 6 Rinsing and Neutralizing the Bleach: Ensuring Safety and Color Retention
- 7 Drying and Finishing Touches: Adding Your Unique Flair
- 8 Tips for Success and Avoiding Common Mistakes: A Guide for Flawless Bleaching
- 9 Caring for Your Bleached T-shirt: Maintaining Your Masterpiece
- 10 Unleashing Your Inner Fashion Designer
Gathering the Necessary Supplies: Setting the Stage for Success
Before embarking on this DIY adventure, it’s essential to gather the necessary supplies to ensure a smooth and successful transformation. The basic toolkit includes:
-
A Black T-shirt: The star of the show, choose a black T-shirt made from 100% cotton for optimal bleaching results. Old or inexpensive T-shirts are ideal for practice runs.
-
Bleach: Regular household bleach will suffice for this project. Ensure it’s chlorine bleach, not color-safe bleach.
-
Spray Bottle or Container: Dilute the bleach in a spray bottle or container for easy application.
-
Gloves: Protect your hands from bleach exposure by wearing gloves.
-
Rubber Bands or Clips: Secure the T-shirt to create the desired design using rubber bands or clips.
-
Cardboard or Plastic Sheet: Protect your workspace from bleach splatters by placing cardboard or a plastic sheet underneath the T-shirt.
-
Optional Markers or Fabric Pens: Plan your design by sketching it onto the T-shirt using markers or fabric pens.
With these tools in hand, you’re ready to begin the transformation process.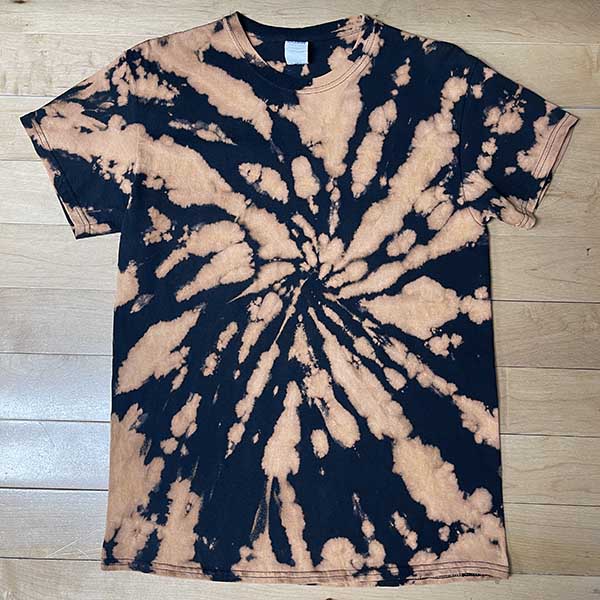
Preparing the T-shirt for Bleaching: Setting the Foundation
Proper preparation is crucial for achieving a flawless bleached design. Follow these steps:
-
Wash the T-shirt: Wash the T-shirt thoroughly before bleaching to remove any dirt or impurities that could affect the bleaching process.
-
Turn Inside Out: Turn the T-shirt inside out to protect the outside from bleach stains.
-
Protect the Workspace: Place cardboard or a plastic sheet underneath the T-shirt to protect your workspace from bleach splatters.
Creating the Bleached Design: Unleashing Your Creativity
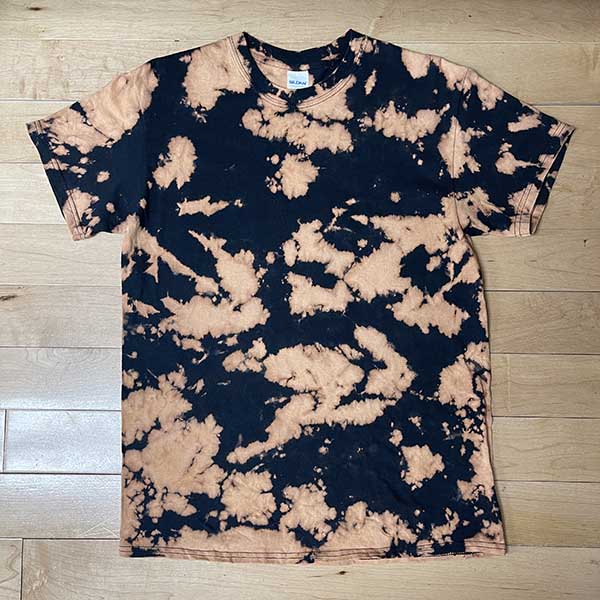
The beauty of bleached designs lies in the endless possibilities for creativity. Explore different techniques to bring your vision to life:
Freehand Designs:
-
Sketch Your Design: Using markers or fabric pens, sketch your desired design directly onto the T-shirt.
-
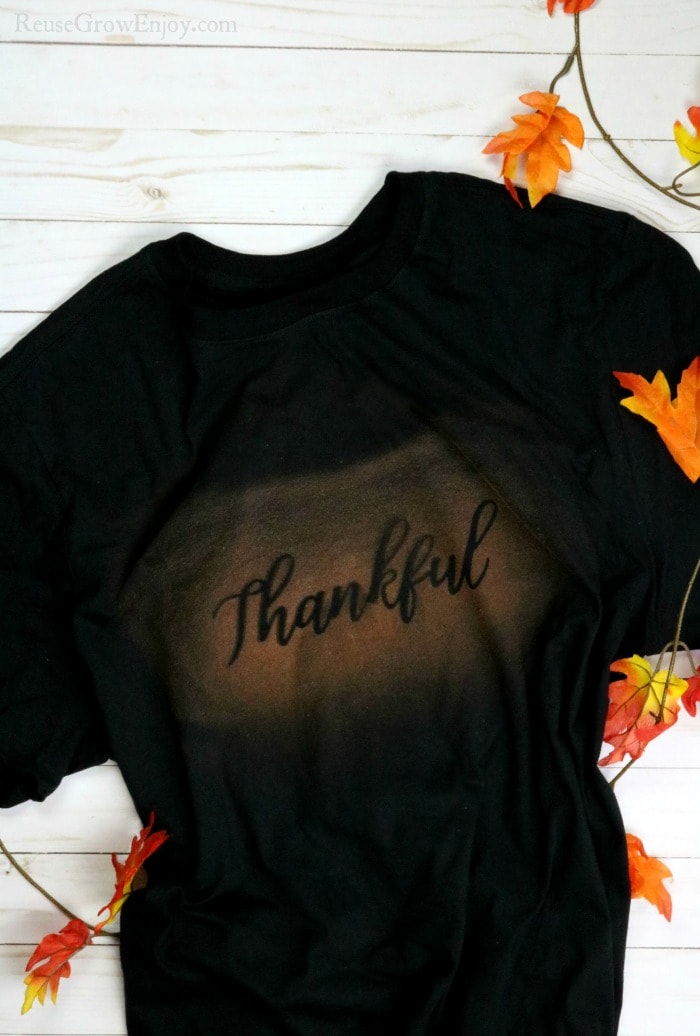
Apply Bleach: Dilute the bleach and carefully apply it to the sketched design using a spray bottle or brush.
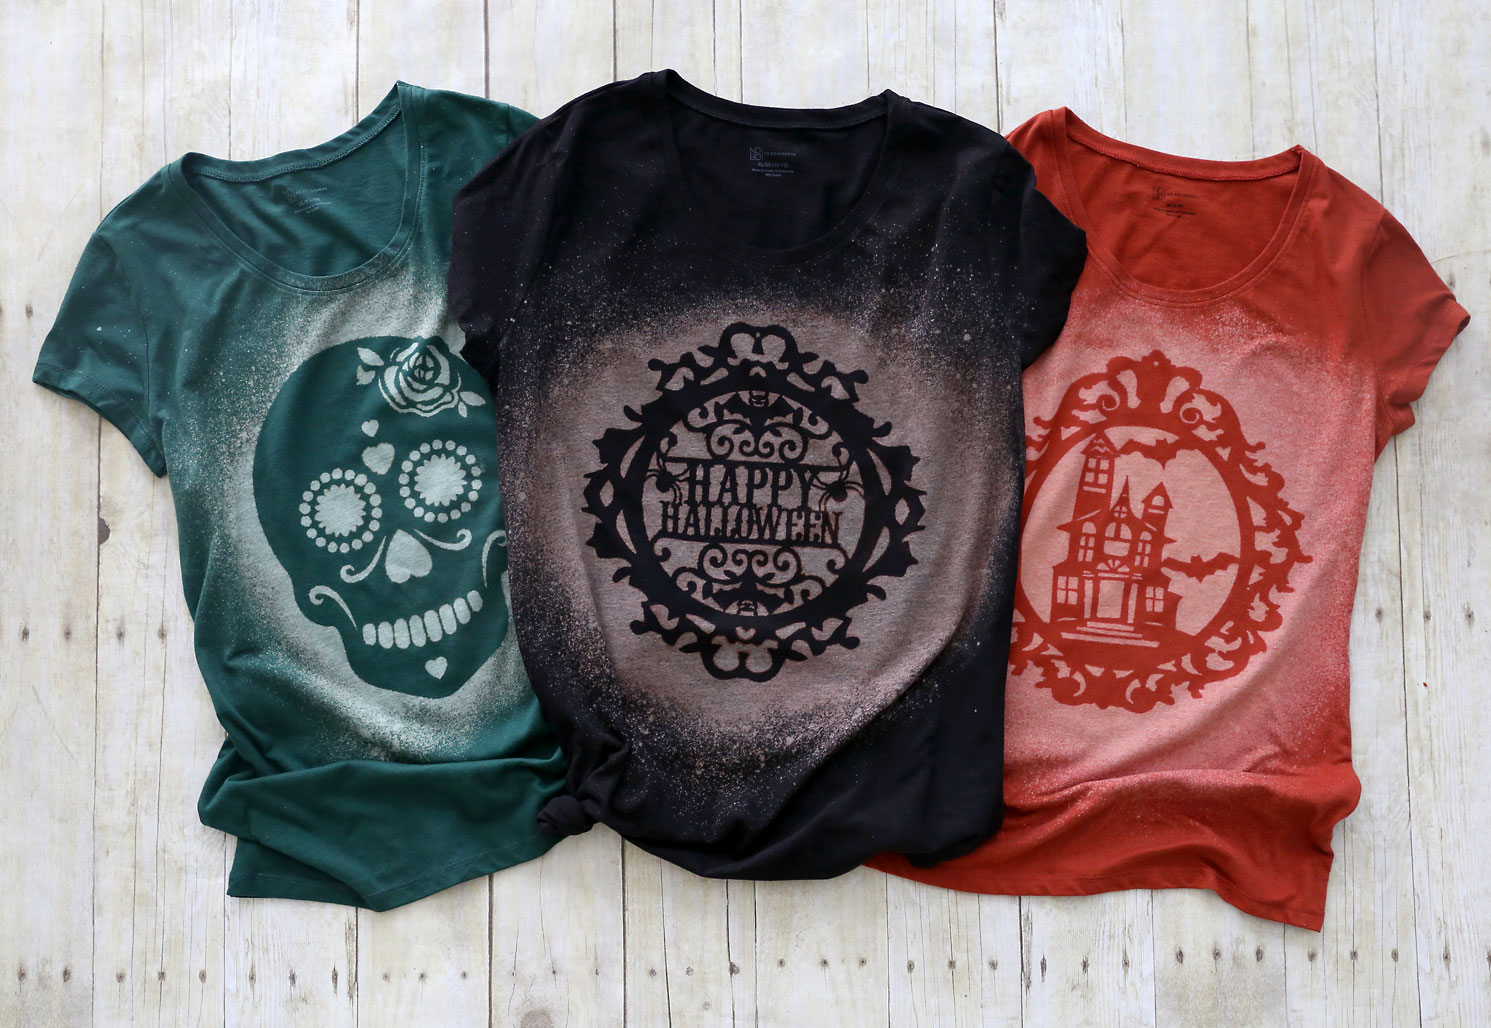
Stencil Designs:
-
Choose a Stencil: Select a stencil with the desired pattern or design.
-
Secure the Stencil: Place the stencil on the T-shirt and secure it with rubber bands or clips.
-
Apply Bleach: Dilute the bleach and spray it over the stencil, ensuring even coverage.
-
Remove the Stencil: Carefully remove the stencil to reveal the bleached design.
Marker or Fabric Pen Designs:
-
Create the Outline: Use markers or fabric pens to create the outline of your desired design.
-
Apply Bleach: Fill in the outlined design using diluted bleach, applying it evenly and carefully.
Working in a Safe Environment:
-
Ventilation: Ensure adequate ventilation in your workspace to prevent bleach fumes.
-
Hand Protection: Wear gloves throughout the process to protect your hands from bleach exposure.
Allowing the Bleach to Work Its Magic: Patience is Key
Once the bleach is applied, patience is crucial to achieve the desired level of bleaching. Let the bleach sit on the T-shirt for the appropriate amount of time, typically around 15-30 minutes. Check the design periodically to monitor the bleaching progress and prevent over-bleaching. Use a timer to ensure accurate timekeeping.
Rinsing and Neutralizing the Bleach: Ensuring Safety and Color Retention
After the desired bleaching effect is achieved, it’s time to rinse and neutralize the bleach:
-
Thorough Rinsing: Rinse the T-shirt thoroughly with cold water to remove all traces of bleach.
-
Vinegar Solution: Prepare a vinegar solution by mixing equal parts white vinegar and water. Soak the T-shirt in the vinegar solution for 10-15 minutes to neutralize any remaining bleach and prevent color fading.
-
Final Rinse: Rinse the T-shirt again with cold water to remove any vinegar residue.
Drying and Finishing Touches: Adding Your Unique Flair
With the bleaching process complete, it’s time to dry and add finishing touches to your creation:
- Air-Drying or Tumble Drying: Air-drying is the gentlest method, but tumble drying on a low heat setting is also acceptable. Avoid high heat settings to prevent fabric damage.
-
Ironing (Optional): Iron the T-shirt on a low heat setting to remove wrinkles and enhance the overall appearance.
-
Embellishments: Unleash your creativity further by adding personalized touches such as embroidery, patches, or buttons.
Tips for Success and Avoiding Common Mistakes: A Guide for Flawless Bleaching
To achieve a flawless bleached design, keep these tips in mind:
-
Dilution is Key: Always dilute the bleach with water before application. The ideal ratio depends on the desired level of bleaching; start with a weaker solution and gradually increase concentration if needed.
-
Even Application: Apply the bleach solution evenly to prevent uneven bleaching and blotchy designs.
-
Monitor the Process: Regularly check the design as the bleach works its magic. Rinse the T-shirt immediately if you notice any unwanted bleaching.
-
Test Fabric: Before tackling the actual T-shirt, experiment with bleach dilution and application techniques on a scrap piece of fabric.
-
Adjusting the Design: You can adjust the design as needed during the bleaching process. Rinse the T-shirt to remove partially bleached areas and reapply bleach for a more pronounced effect.
Caring for Your Bleached T-shirt: Maintaining Your Masterpiece
To maintain the quality and appearance of your bleached T-shirt, proper care is essential:
-
Washing Instructions: Wash the T-shirt inside out in cold water with a mild detergent. This helps prevent fading and color bleeding.
-
Drying Recommendations: Air-drying is still the preferred method due to the gentler nature of the process. However, tumble drying on low heat remains an option.
-
Ironing on Low Heat: To maintain a crisp look, iron the T-shirt on a low heat setting if necessary.
Unleashing Your Inner Fashion Designer
By following these steps and unleashing your creativity, you can transform a simple black T-shirt into a unique and stylish piece that reflects your personal style. The world of DIY fashion offers endless possibilities for exploration. Embrace the spirit of experimentation, and don’t be afraid to try different techniques and designs. Online tutorials and resources are readily available to inspire you and guide you through the process. With a little practice and creativity, you’ll be well on your way to crafting one-of-a-kind garments that showcase your individuality and fashion sense. Remember, the journey of creating your own masterpiece is just as rewarding as the final product itself. So, grab your black T-shirt, gather your supplies, and embark on a journey of fashion exploration through the power of bleach!
-


