Finding the perfect-fitting shirt can be a challenge, especially when it comes to achieving that desirable silhouette around the waist. Many people seek ways to make a shirt fit tighter around the waist for various reasons—enhancing their overall appearance, improving comfort, or achieving a tailored look. Fortunately, adjusting shirts to achieve a snugger fit is easier than one might think. Whether you own a shirt that has become loose over time or purchased one that simply doesn’t fit as expected, several techniques can help you tighten it around the waist. From simple sewing techniques to easy DIY methods, you can transform your wardrobe without the need for professional tailoring. In this comprehensive article, we will explore various methods, tips, and tricks for making shirts fit tighter around the waist, ensuring you look and feel your best in your garments.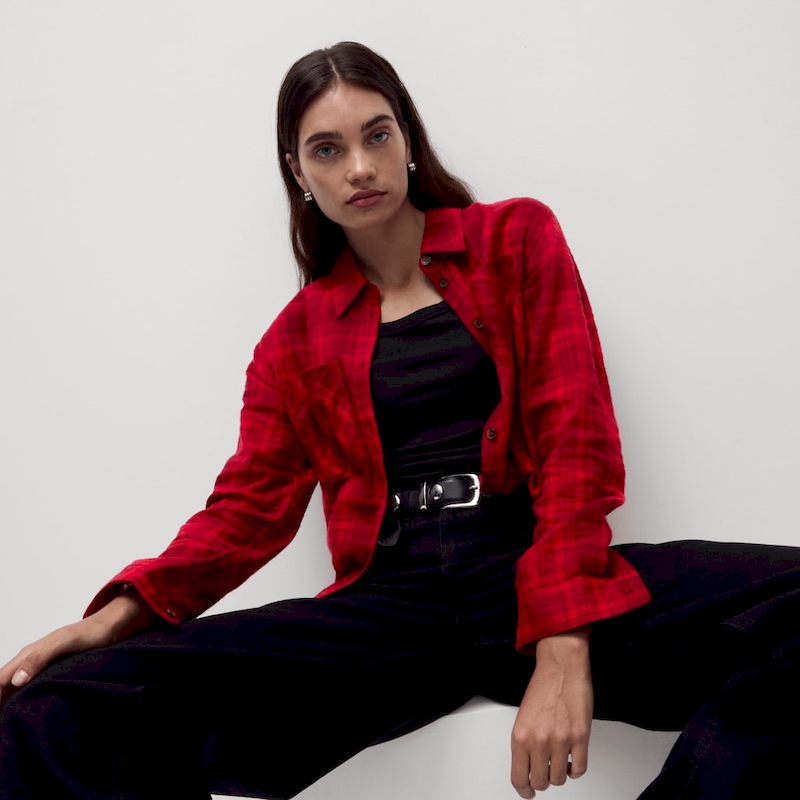
Contents
Understanding Shirt Fit
Before diving into how to make a shirt fit tighter around the waist, it’s crucial to understand shirt fit in general. The fit of a shirt refers to how well it conforms to the body’s shape and size. Fit can be categorized as follows:
1. Slim Fit
Slim fit shirts are designed with a closer cut throughout the body, particularly at the waist. They provide a streamlined appearance but may be uncomfortable for those looking for flexibility.
2. Regular Fit
Regular fit shirts offer a bit more room through the body and waist. This style is comfortable for everyday wear but may feel baggy or lose shape over time.
3. Tailored Fit
Tailored fit shirts combine elements of both slim and regular fits. These shirts taper at the waist for a more customized appearance without being overly constricting.
Understanding the terms above will help inform your choices and adjustments when looking to fit a shirt tighter around the waist.
Identifying the Problem Areas
Whenever you aim to make a shirt fit tighter around the waist, begin by thoroughly examining the shirt to identify the specific areas that require adjustment. Focus on areas that may contribute to an overly loose appearance.
1. Waist Area
Examine how much excess fabric exists around the waist. A shirt may have a boxy shape, leading to a lack of definition. Identify where the shirt needs to taper for a more fitted silhouette.
2. Side Seams
Check the side seams of the shirt. Often, these seams can be taken in slightly to create a snugger fit around the waist.
3. Back Fit
Inspect the back of the shirt for excess fabric, particularly around the lower back and waist area. This is crucial for identifying if excess material contributes to a loose appearance.
4. Overall Shape
Evaluate the overall shape of the shirt. Sometimes, the cut of a shirt may not complement your body shape, leading to a less flattering look. Understanding how the shape contributes to fit will guide the adjustments needed.
Simple Adjustments for a Tighter Waist
Once you have identified the areas that require refining, consider these simple adjustments to make the shirt fit tighter around the waist.
1. Tailoring Side Seams
One of the most effective ways to tailor a shirt is by adjusting the side seams. This process requires basic sewing skills or a sewing machine. Here’s how to do it:
Step-by-Step Guide:
- Wear the Shirt: Put on the shirt and pinch the fabric at the waist to determine how much you need to take in at the side seams.
- Mark the Fabric: While wearing the shirt, use fabric chalk or a tailor’s chalk to mark the new seam line.
- Remove the Shirt: Take off the shirt and lay it flat on a clean surface.
- Sew the Side Seams: Begin sewing along the marked lines. Consider using a straight stitch or a zigzag stitch for added stretch.
- Trim Excess Fabric: After sewing, trim any excess fabric, leaving about a half-inch seam allowance.
- Press the Seams: Finally, press the seams with an iron for a neat finish.
2. Adding a Waist Dart
Another technique to consider for making a shirt fit tighter around the waist is to incorporate darts. Darts help provide shape and contour to the fabric, creating a more tailored fit.
Step-by-Step Guide:
- Mark the Dart Location: Put on the shirt and determine where you’d like to add the darts. Typically, they should start at the waist and extend towards the bust.
- Pinch and Mark: Pinch the fabric together at the waist to see how much you want it to snug up. Use chalk to mark the dart’s starting point on both sides of the fabric.
- Create the Dart: Cut a small triangular piece of fabric at the marked points, then sew from the fabric edge to the point to create the dart. Repeat on both sides of the shirt.
3. Tucking Techniques
When making a shirt fit tighter around the waist, utilizing tucking methods can provide an immediate solution. Here are popular techniques: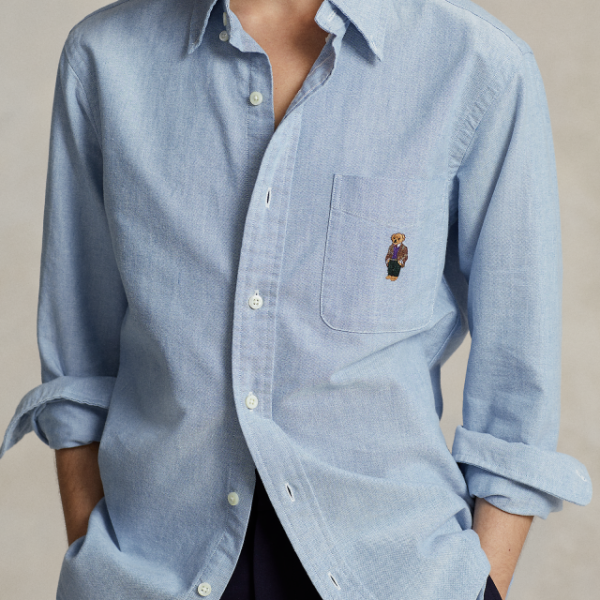
Front Tuck
- Tuck in the front part of the shirt into your pants or skirt. This creates a stylish asymmetry and draws attention to your waistline.
Half-Tuck
- For a more relaxed way to present a fitted waist, consider a half-tuck. Tuck in only one side of the shirt, leaving the other side loose to create a casual look.
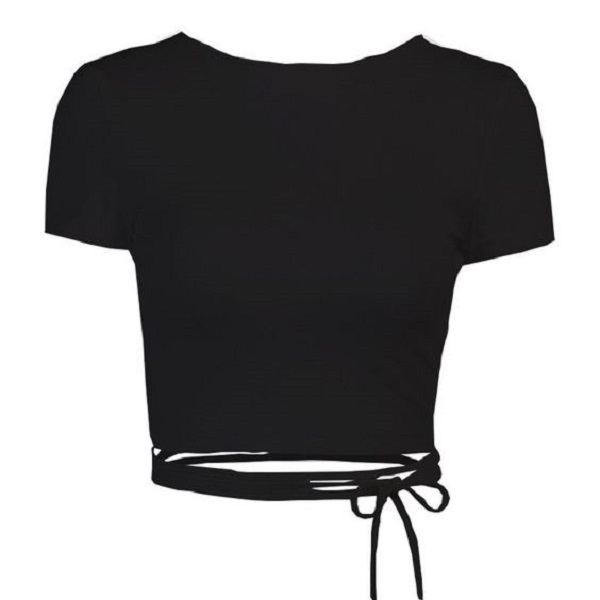
4. Elastic or Belt Adjustments
If you’re looking for a non-permanent adjustment, consider elastic or belts:
- Adding Elastic: Sew a strip of elastic into the shirt’s waistband for tighter compression around the waist.
- Utilizing Belts: Use a wide belt over a loose shirt to cinch the fabric, effectively creating a tighter appearance around the waist.
Tailoring Considerations for Specific Shirt Types
Different shirt styles may require unique adjustments. Here’s how to approach various types if you want to make a shirt fit tighter around the waist:
1. Button-Up Shirts
Button-up shirts provide ample opportunities for tailoring. Use techniques like side seams adjustments, darts, or even back pleats to tighten their fit effectively.
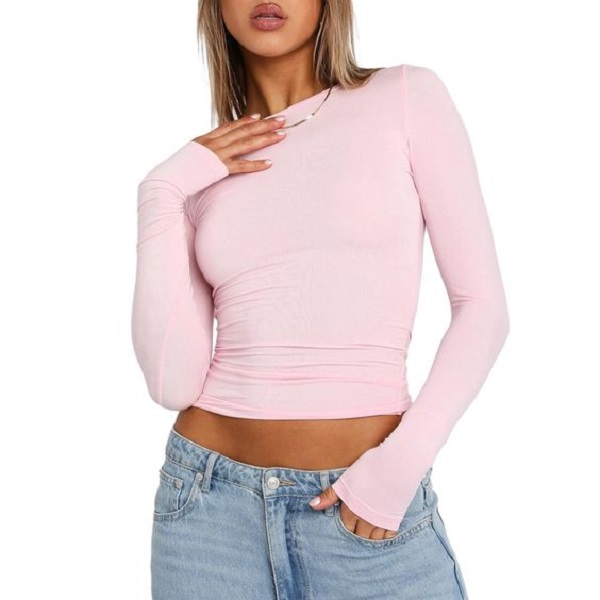
2. Blouses and Tunics
For blouses and tunics that tend to have a flowy silhouette, consider utilizing a combination of tucks and darts. These adjustments will help create a more defined waistline without sacrificing comfort.
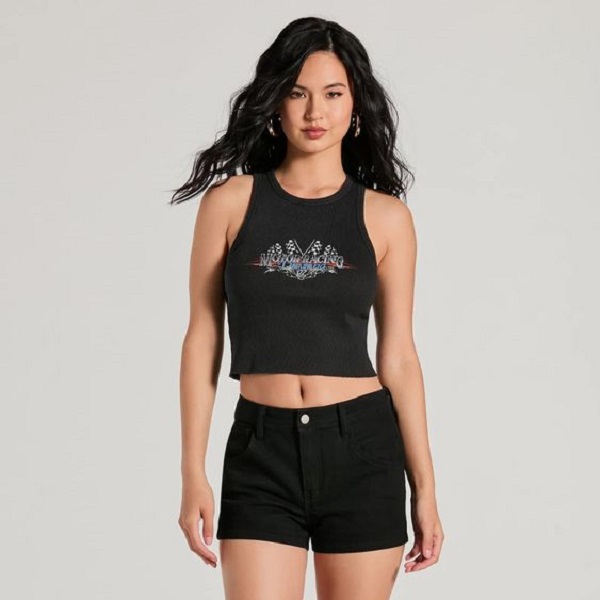
3. T-Shirts and Casual Tops
Casual shirts like t-shirts often have more stretch, making them relatively easy to adjust. Besides simple side seams, you could also consider more dramatic tucks or knotting techniques for a snug fit.
4. Dress Shirts
Dress shirts typically allow for minimal alteration due to their structured nature. Focus on darts and side seam adjustments for a refined fit that still maintains professionalism.
Common Mistakes to Avoid
When altering shirts to achieve a tighter fit around the waist, avoiding common mistakes can ensure better results:
1. Over-Tightening
While the goal may be to create a snug fit, over-tightening can lead to discomfort and restrict movement. Always consider how the shirt should fit as you tailor it.
2. Skipping the Fitting Process
Fitting the shirt on while making adjustments is crucial. Always check how the fabric falls on your body as you go to pinpoint potential issues early on.
3. Neglecting Fabric Care
Be mindful of the fabric type when altering. Some fabrics may shrink or distort when laundered, affecting your adjustments. Always assess fabric properties before proceeding.
4. Poor Quality Adjustments
Taking shortcuts can lead to uneven seams or puckering. Invest time in making quality adjustments, and consider using a sewing machine for more precise results.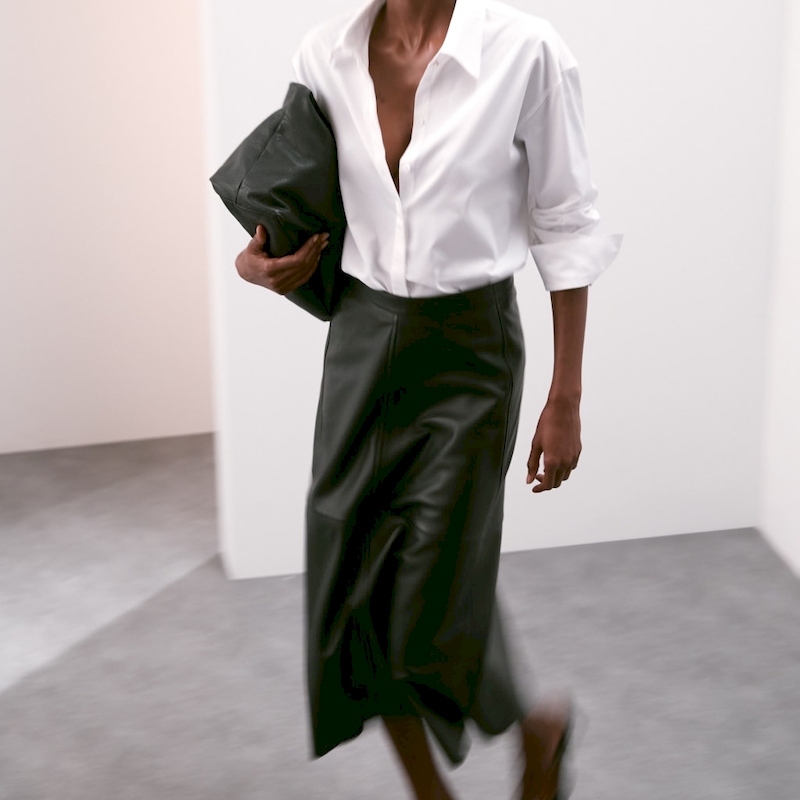
Conclusion
Understanding how to make a shirt fit tighter around the waist opens the door to improved wardrobe versatility and style. Whether you choose to tailor your shirts with darts, utilize tucking techniques, or manipulate side seams, there are abundant ways to achieve that desired silhouette. With a focus on fit and comfort, you can elevate your look for various occasions in your daily life.
By learning the techniques discussed in this article, you can transform loose shirts into tailored pieces that accentuate your waistline beautifully. Remember to approach each alteration with care, taking the time to ensure precision in your adjustments. Ultimately, your clothes should reflect your unique style while providing comfort and confidence. Enjoy experimenting with these techniques, and step out feeling great in your newly fitted shirts!