Embroidery has become an increasingly popular craft, allowing individuals to personalize clothing and create unique designs. If you’re interested in how to embroider a shirt, you’re embarking on a rewarding journey that can lead to beautiful, one-of-a-kind pieces for your wardrobe or gifts for loved ones. From mastering the fundamental techniques to selecting the right materials and tools, this comprehensive guide will cover everything you need to know about embroidering a shirt. We’ll walk you through the essential steps, from planning your design to executing it flawlessly. Whether you are a complete beginner or looking to refine your embroidery skills, this guide will provide the insights and resources you need to create stunning embroidered shirts that reflect your personal style and creativity. So grab your materials, and let’s dive into the vibrant world of embroidery!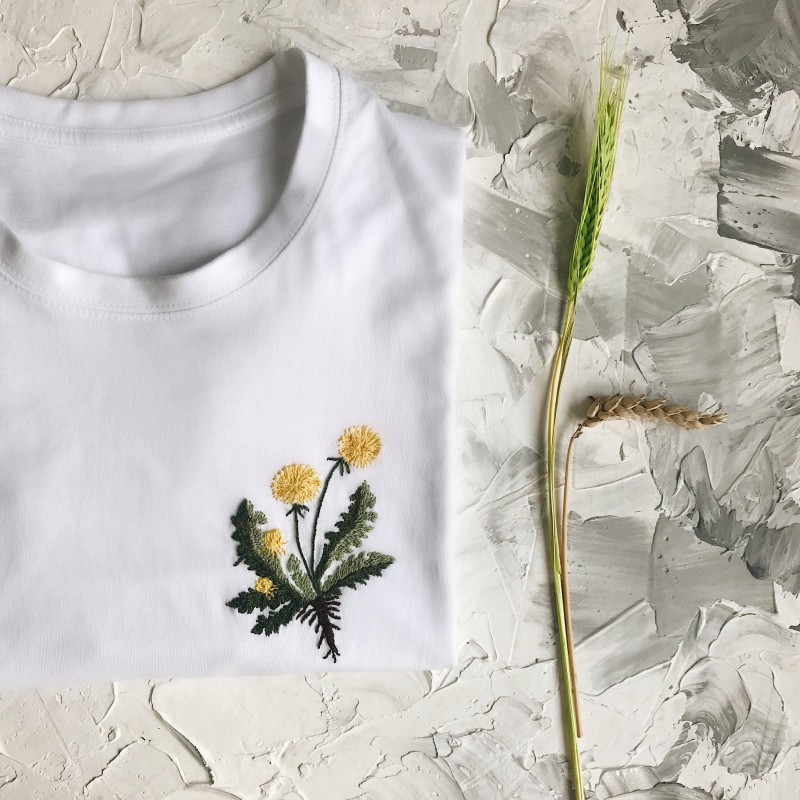
Contents
Understanding the Basics of Embroidery
Before delving into the practical aspects of how to embroider a shirt, it’s essential to understand the basics of embroidery itself. This foundation will enhance your experience and skills as you begin your crafting journey.
What is Embroidery?
Embroidery is the art of decorating fabric with needle and thread, creating intricate designs and patterns. It usually involves stitching patterns either by hand or using embroidery machines. The beauty of embroidery lies in its versatility—it can range from simple monograms to complex floral designs.
Types of Embroidery Techniques
There are several types of embroidery techniques that you can use when embroidering a shirt, including:
- Hand Embroidery: This traditional method involves stitching designs by hand using various stitches. It allows for personalized touches and intricate designs.
- Machine Embroidery: Using an embroidery machine can speed up the process and bring precision to your designs. This method is popular for commercial applications.
- Free-Motion Embroidery: In this technique, you can create designs by controlling the fabric movement under a machine’s needle, giving you a painterly effect.
- Cross-Stitch: A specific style of embroidery where stitches are arranged to form an “X” pattern, this technique is often used for creating more detailed designs.
- Appliqué: This technique involves sewing one fabric piece onto another, adding dimension and color to the embroidered design.
Essential Embroidery Terms
Here are some common embroidery terms you should know as you begin:
- Hoop: A device that holds the fabric taut while you embroider.
- Stitch Types: Different stitches are used in embroidery, such as satin stitch, backstitch, or French knots.
- Design Transfer: The process of getting your design onto the fabric, which can involve tracing, ironing, or using water-soluble transfer pens.
- Backstitch: A basic stitch that creates a solid line, commonly used for outlining designs.
Materials and Tools Needed for Embroidering a Shirt
To successfully begin your embroidery project, gathering the proper materials and tools is essential. Below is a comprehensive list of what you will need:
Basic Materials
- Shirt: Choose a shirt made from an easy-to-embroider material, such as cotton or linen. Avoid fabrics that are too thick or textured.
- Embroidery Thread: Select high-quality embroidery thread, such as cotton or polyester, in colors that suit your design. Six-strand floss is a popular choice for hand embroidery.
- Embroidery Needle: Use a sharp needle appropriate for the thickness of the thread. For most embroidery, a size 7-9 embroidery needle works well.
- Pattern or Design: Create a design drawn on paper or printed from a computer. Choose a simple design if you are starting.
- Stabilizer: A stabilizer provides extra support to the fabric while stitching. Different types include tear-away, cut-away, or water-soluble stabilizers.
- Fabric Marking Tool: Use a fabric marking pen, chalk, or pencil to transfer your design onto the shirt.
Additional Tools
- Embroidery Hoop: An embroidery hoop helps keep the fabric taut, making it easier to stitch your design.
- Scissors: Sharp scissors are necessary for trimming threads and cutting fabric.
- Transfer Paper: If you prefer to transfer designs directly onto the fabric, using transfer paper can facilitate the process.
- Iron: A steam iron is useful for smoothing fabric before you begin and for removing any wrinkles after completion.
- Thimble: A thimble can protect your fingers while pushing the needle through thick fabric.
Step-by-Step Guide on How to Embroider a Shirt
Now that you have a good grasp of the fundamentals and gathered your materials, it’s time to learn how to embroider a shirt. Follow these detailed steps to create your beautiful embroidered design.
1: Choose Your Design
Decide on the design you wish to embroider on your shirt. Simpler designs work best for beginners, while more complex patterns can be tackled as you gain confidence.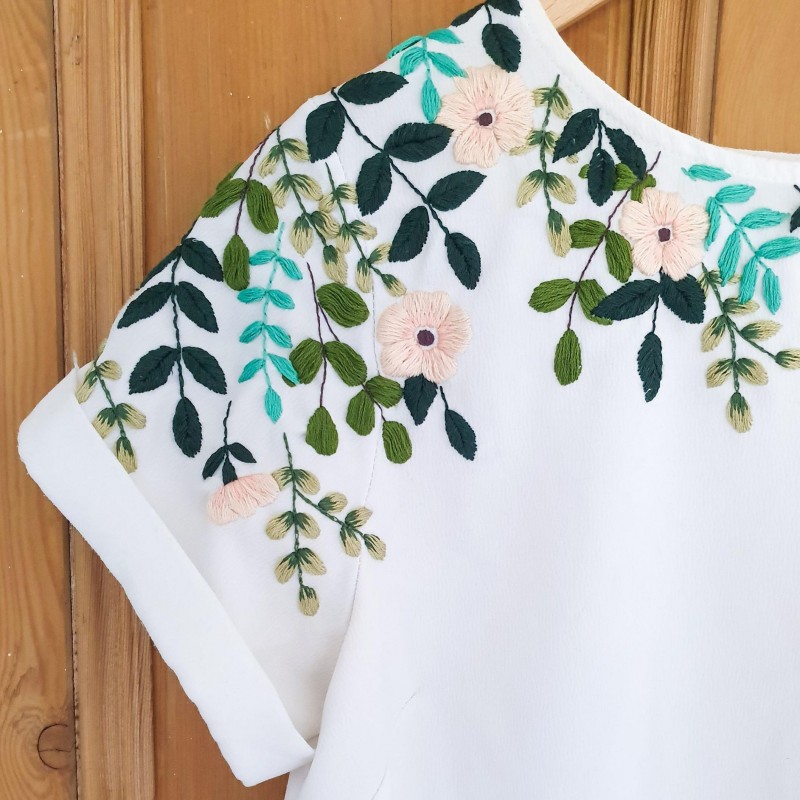
2: Prepare the Shirt
- Wash and Dry: Pre-wash your shirt to prevent any shrinkage after embroidery. Iron the shirt to remove wrinkles.
- Find the Placement: Decide where you want to place your design on the shirt, whether it’s on the chest, sleeve, or hem.
3: Transfer the Design
- Trace the Design: Use a fabric marking tool to trace your design directly onto the shirt. Alternatively, you can use transfer paper to help guide your design.
- Secure with Stabilizer: Place a piece of stabilizer behind the area you’re embroidering to provide support and keep the fabric from stretching.
4: Set Up the Embroidery Hoop
- Loosen the Hoop: Take the outer ring of the embroidery hoop, loosen it, and position the fabric within the hoop. Make sure the design is centered to your liking.
- Tighten the Hoop: Once the fabric is secured within the hoop, tighten it to hold the fabric firmly in place. The fabric should be taut, but not stretched.
5: Begin Stitching
- Select a Starting Point: Begin at a corner or a defining point of your design.
- Choose a Stitch: Depending on your design, choose an appropriate stitch type. Start simple, such as with a backstitch or running stitch.
- Guide the Thread: Bring the needle up from the back of the fabric and thread it with the embroidery floss. If possible, use a single strand or split strands for more variety in thickness.
- Stitching Technique: Apply your chosen stitch consistently. Keep an even tension to create a uniform look throughout.
- Continue Stitching: Work your way through the entire design, following your markings. Take breaks to check your work and ensure that stitches remain neat.
6: Finishing Touches
- Secure the Thread: Once you’ve completed your design, secure any loose threads at the back of the fabric by tying knots as needed.
- Trim Excess Thread: Use sharp scissors to trim excess thread, ensuring that your work appears tidy.
- Remove the Hoop: Carefully remove the embroidery hoop and inspect your work. If needed, press the design with an iron on a low setting to smooth it.
7: Care Instructions
Follow the care instructions for your embroidered shirt to ensure longevity. Hand wash cold or machine wash on a gentle cycle with mild detergent, avoiding bleach and harsh chemicals.
Common Techniques for Embroidering Designs
As you familiarize yourself with how to embroider a shirt, experimenting with different embroidery techniques can broaden your skills and add variety to your designs. Here are some common techniques to consider:
Backstitch
The backstitch is a foundational embroidery technique used for outlining and text. It creates a continuous line and works beautifully for simple designs.
Satin Stitch
This technique fills shapes with smooth, closely spaced stitches to create a solid block of color. It’s often used for lettering or shapes that need a polished look.
French Knot
French knots add texture and dimension to designs. They are created by twirling the thread around the needle multiple times and securing it with a knot.
Chain Stitch
The chain stitch creates a decorative chain-like effect, perfect for outlining shapes or creating unique designs.
Lazy Daisy Stitch
This charming stitch creates flower petals and simple decorative elements. It’s particularly useful for floral designs or adding embellishments.
Troubleshooting Common Issues
As a beginner, you may encounter challenges while learning how to embroider a shirt. Here are some common issues and solutions:
Thread Bunching
If you experience thread bunching or tangling, ensure you’re using the correct needle and thread for your fabric type. Adjust the tension on your machine if using a sewing machine.
Uneven Stitches
To achieve consistent stitch quality, practice maintaining even tension while stitching. If necessary, slow down to ensure precision as you work.
Design Misalignment
Double-check your fabric placement and tracing before starting to stitch your design. Use pins or fabric clips to hold it in place for better accuracy.
Color Choices
If the colors you’ve chosen don’t look as anticipated, consider experimenting with shades or combining colors. Sometimes, less contrasting colors can enhance the overall appearance.
Advanced Embroidery Techniques
Once you’ve mastered the basics of how to embroider a shirt, you may want to explore advanced techniques to take your skills to the next level. Here are some ideas:
Appliqué Embroidery
This technique involves sewing a piece of fabric onto a base fabric to create interesting dimensional effects. It’s perfect for creating unique images or patterns, adding depth to your designs.
Free-Motion Embroidery
Free-motion embroidery enables you to create intricate designs without a set pattern. This technique requires practice and an understanding of machine controls. It can yield amazing artistic results.
Machine Embroidery
If you have access to an embroidery machine, you can explore digitizing designs and creating professional-quality work. Computer software allows you to create your embroidery patterns before stitching.
Mixed Media
Combine embroidery with other crafts, such as painting or fabric dyeing, to create unique works of art. Mixed media projects allow for endless creativity and artistic expression.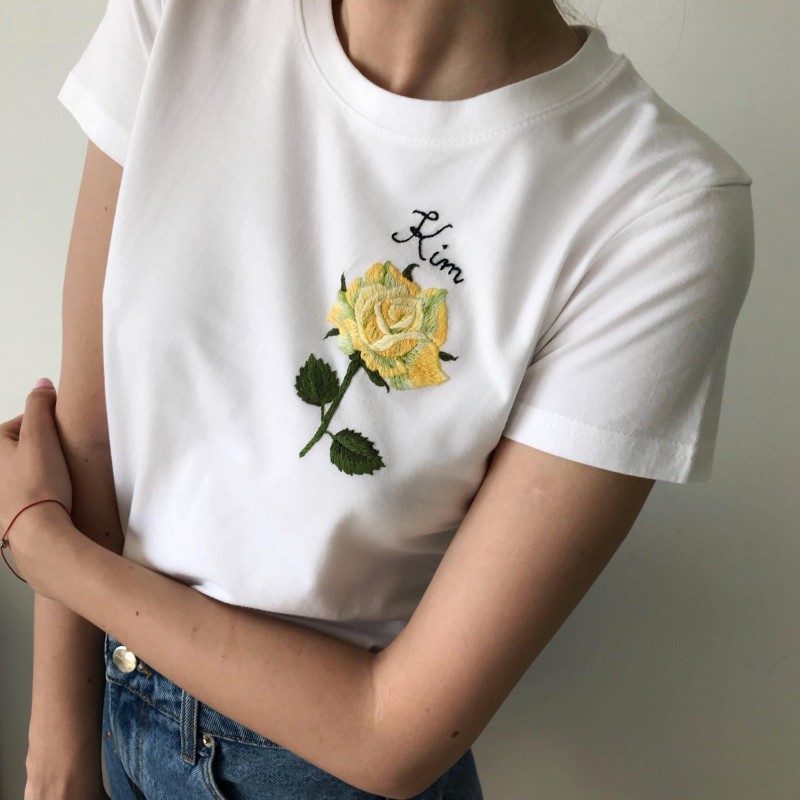
Conclusion
Learning how to embroider a shirt opens the door to personalization and creativity. From selecting the right materials to mastering various techniques, embroidery provides a fulfilling way to express your style and skills. With the knowledge contained within this guide, you are now equipped to start your embroidery journey, creating stunning embroidered designs that will enhance your wardrobe or serve as thoughtful gifts.
As you develop your skills, don’t hesitate to explore different techniques and styles that resonate with your creative vision. Experiment with various designs, colors, and materials to discover what you enjoy most. Additionally, maintaining a practice of proper care for your finished embroidered shirts will ensure they remain beautiful for years to come.
Embroidery offers countless possibilities, and with each project, you will continue to grow and develop your craft. So gather your materials, find inspiration, and embark on this exciting journey of self-expression through embroidery!