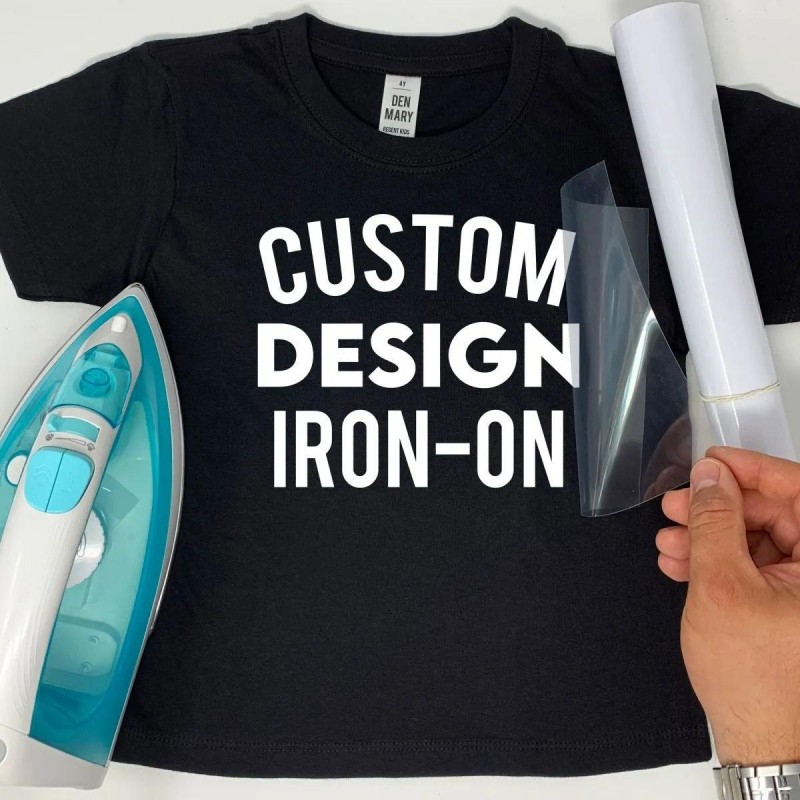
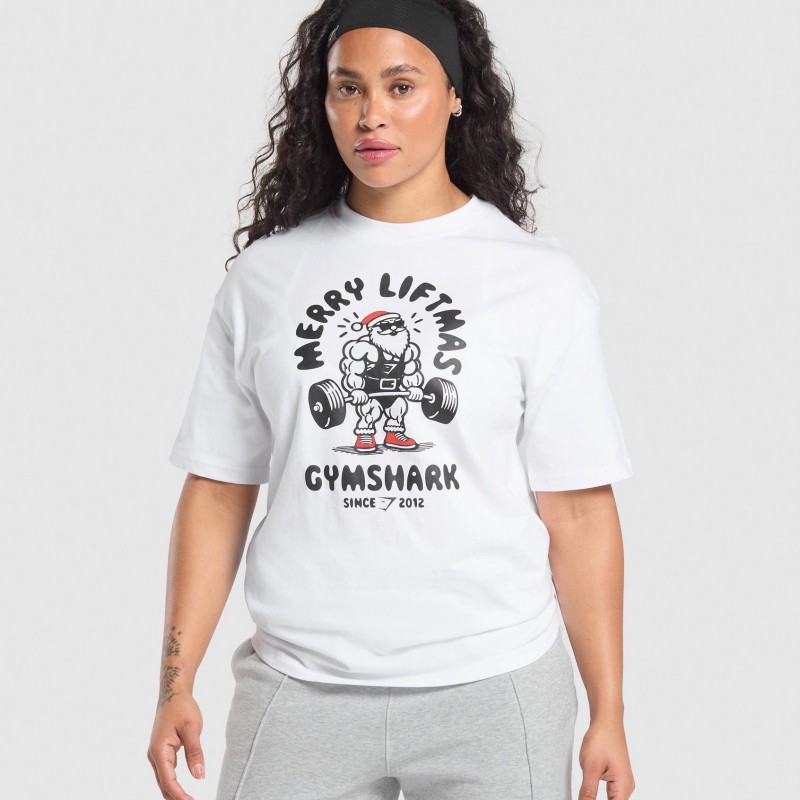
Creating custom shirts can be a thrilling and rewarding activity, whether you’re designing for a special event, promoting a business, or just expressing your personal style. One popular method for adding designs to shirts is using heat transfer vinyl (HTV). This technique allows you to create vibrant, long-lasting graphics that adhere beautifully to fabric. However, the process of how to put vinyl on a shirt may seem daunting to beginners. With the right tools, techniques, and a little practice, you can become proficient in applying vinyl to create stunning custom apparel. In this comprehensive guide, we will walk you through every aspect of the process, from selecting materials and tools to applying and caring for your custom designs. By the end of the article, you will be well-equipped with the knowledge you need to confidently create your custom shirts using heat transfer vinyl.

Contents
Understanding Heat Transfer Vinyl
To grasp how to put vinyl on a shirt effectively, it’s essential to understand what heat transfer vinyl is and how it works.
What is Heat Transfer Vinyl (HTV)?
Heat transfer vinyl (HTV) is a specialty material designed for transferring images, text, and graphics onto fabric using heat and pressure. HTV comes in a variety of colors, finishes, and thicknesses, allowing for immense creativity. The vinyl typically consists of a colored layer that is adhesive on one side. When the adhesive layer is heated, it activates and bonds to the fabric surface.
Types of Heat Transfer Vinyl
There are several types of heat transfer vinyl available, each with unique properties:
- Standard HTV: Most common type, suitable for various fabrics and colors.
- Glitter HTV: Contains glitter particles, ideal for adding a sparkling effect to designs.
- Flock HTV: Offers a soft, textured feel and is great for creating a raised effect.
- Metallic HTV: Provides a shiny, reflective finish, adding elegance to designs.
- Stretch HTV: Designed for use on stretchy materials, ensuring the design stays intact even when the fabric is stretched.
Why Use HTV for Shirts?
Using HTV has several advantages:
- Versatile Design Options: It allows for detailed designs, including intricate patterns and text.
- Durability: Well-applied HTV is designed to withstand multiple washes while keeping its color and shape intact.
- Ease of Application: With the right tools, applying HTV is straightforward and doesn’t require professional skills.
Understanding the characteristics of heat transfer vinyl will empower you to make informed choices and apply it effectively to your projects.
Tools and Materials You’ll Need
To successfully learn how to put vinyl on a shirt, having the right tools and materials is crucial. Here’s a list of what you’ll need:
Heat Transfer Vinyl
Invest in high-quality heat transfer vinyl that suits your design requirements. Common factors to consider include color, finish, and compatibility with your fabric.

Cutting Machine
Most designers use a cutting machine for precision. Here are popular options:
- Cricut Machines: User-friendly models that are ideal for beginners and experienced crafters alike.
- Silhouette Cameo: Another popular choice, offering versatile cutting options and features.
- Other Cutting Machines: Devices like Brother ScanNCut also provide unique features ideal for vinyl cutting.
Heat Source
For applying HTV, you’ll need:
- Heat Press: Provides even heat and pressure, resulting in superior application quality.
- Iron: A household iron can also work, but it may require more effort to ensure even pressure.
Accessories and Tools
For a smooth process, consider gathering the following tools:
- Weeding Tools: Essential for removing excess vinyl from your design after cutting.
- Teflon Sheet or Parchment Paper: Protects both the vinyl and your heat source during application.
- Fabric Shirt: Select a shirt made from cotton or a cotton blend, as they work best with HTV.
- Measuring Tape or Ruler: For accurate placement of designs on the shirt.
Optional Accessories
While the above items are essential, these can enhance your experience and results:
- Brayer: Helps to apply even pressure during application.
- Vinyl Roll Holder: Keeps your rolls organized and easy to access.
Preparing Your Design
Once you have all your materials ready, the next step is to prepare your design. This stage is critical for achieving the best results when applying HTV to your shirt.
Choosing Design Software
To create and manipulate your designs, you’ll need design software that works with your cutting machine. Popular options include:
- Cricut Design Space: A cloud-based software designed specifically for Cricut machines.
- Silhouette Studio: A robust program for Silhouette cutting machines that allows for detailed design work.
- Adobe Illustrator: A professional-grade software for creating graphics, though it comes with a steeper learning curve.
Creating Your Design
- Select or Create a Design: Choose a design from the software library, or create your own. Keep in mind what message or image you want to convey.
- Adjust the Size: Measure the area on your shirt where the design will be placed and scale accordingly. Typically, designs for t-shirts range from 3 to 12 inches in width.
- Mirror the Image: Before cutting, be sure to mirror your design in the software. This step is essential for HTV, as the adhesive side of the vinyl will be pressed against the shirt.
Cutting the Vinyl
- Load the Vinyl into the Cutting Machine: Place the vinyl on the cutting mat, ensuring it is aligned correctly.
- Adjust Machine Settings: Set the machine to recognize the type of vinyl you are using. Follow the manufacturer’s guidelines to ensure a clean cut.
- Start Cutting: Once everything is set up, send the design to the cutting machine. Wait patiently as the machine works its magic.
Weeding the Design
After the cutting is complete, it’s time to weed the vinyl.
- Remove the Excess Vinyl: Using a weeding tool, gently peel away the unwanted vinyl from your design. Take care not to damage the actual design as you work.
- Inspect for Mistakes: Double-check that your design is fully weeded, with all unwanted pieces removed.
Preparing Your T-Shirt for Vinyl Application
With your design cut and weeded, it’s time to prepare your t-shirt for vinyl application. Proper preparation ensures successful adhesion and a professional finish.
Selecting the Right T-Shirt Fabric
Choose a shirt made from materials that work well with HTV, such as cotton or cotton blends. These fabrics hold heat well and allow for good adhesion.
Prepping the Shirt
- Wash Your Shirt: If your shirt is new, wash it to remove any sizing or treatments that could hinder adhesion.
- Iron the Shirt: Use an iron to remove wrinkles from the fabric. Sit the shirt on a flat, heat-resistant surface for this step.
- Position the Shirt: Lay the shirt flat, ensuring it is wrinkle-free and even. Incorporate a Teflon sheet or parchment paper underneath to protect your workspace.
Positioning the Design
- Measure for Placement: Using a ruler or measuring tape, determine where you want to place the design. Common placements include the center of the chest or the lower hem.
- Use a Heat Resistant Tape: Secure the design in place using heat-resistant tape. This will prevent shifting while you apply heat.
Applying the Vinyl to Your T-Shirt
Now that you’ve prepared both the design and the shirt, it’s time for the actual application process. Follow these steps for achieving great results.
Using a Heat Press
If you choose to use a heat press, follow these steps:
- Preheat the Heat Press: Set the temperature according to the vinyl manufacturer’s instructions. Typically, this is around 305°F to 320°F (150°C to 160°C).
- Position the Shirt: Lay the shirt flat on the heat press, ensuring the design is positioned correctly.
- Press the Design: Close the heat press, applying even pressure for the recommended time (usually about 10-15 seconds).
- Lift and Check: Carefully lift the press and check if the vinyl has adhered well to the fabric.
Using an Iron
If you are using an iron instead:
- Set the Iron Temperature: Turn the iron to the appropriate setting for cotton or as recommended by the vinyl manufacturer.
- Cover the Design with Parchment Paper: This protects both the design and your iron from sticking.
- Press Firmly: Apply even pressure across the entire design, moving the iron back and forth. Hold the steamer for 10-15 seconds on different sections.
- Lift and Inspect: Check if the design has adhered properly, applying additional heat as needed.
Caring for Your Vinyl T-Shirt
Now that you have successfully applied the vinyl to your t-shirt, proper care will help maintain its appearance and longevity.
Washing Recommendations
- Turn Inside Out: Always wash your shirt inside out to protect the vinyl design from abrasion and fading.
- Cold Water Wash: Use cold water settings to prevent shrinking and color fading.
- Mild Detergent: Opt for a gentle detergent that is free from bleach or harsh chemicals.
Drying Tips
- Air Dry: Whenever possible, air dry your t-shirt by laying it flat or hanging it up. This method is gentler on the fabric and the design.
- Low Heat in the Dryer: If you must use a dryer, set it to low heat to minimize damage.
Ironing Considerations
- Avoid Direct Heat: Never apply direct heat to the vinyl. If you need to iron your shirt, do so from the inside out using a pressing cloth or Teflon sheet over the design.
Storage Recommendations
Store your t-shirt in a cool, dry place, preferably folded neatly to avoid creases. Avoid hanging it up on hangers for long periods to prevent stretching of the neckline.
Troubleshooting Common Issues
Even skilled crafters may encounter common challenges while learning how to put vinyl on a shirt. Here are solutions to common problems:
Vinyl Not Adhering Properly
If you notice parts of your vinyl haven’t adhered correctly:
- Reapply Heat: Place back into the heat press or apply more heat with the iron, ensuring you cover missed areas thoroughly.
- Check Temperature Settings: Ensure your heat source is set to the correct temperature.
Peeling or Lifting
If you experience peeling after washing:
- Inspect Installation: Make sure you applied the vinyl for the recommended time and temperature when you first pressed it.
- Know Your Material: Some fabrics may not bind well with certain types of vinyl. If this is a recurring issue, consider trying different heat transfer materials.
Fading
To address vinyl fading:
- Use Quality Vinyl: Higher-quality vinyl often fades less than cheaper alternatives.
- Follow Washing Guidelines: Ensure you adhere to washing instructions and avoid harsh detergents.

Conclusion
Learning how to put vinyl on a shirt is an empowering and enjoyable skill that allows for endless creative expression. With the right tools, materials, and techniques, you can craft beautiful, personalized garments that showcase your style and individuality. Throughout this guide, you’ve learned about the essential materials needed, the steps to create your design, the application process, and care tips for maintaining your custom shirts.
As you embark on your t-shirt-making journey, remember that practice makes perfect. Embrace any challenges as learning experiences, and over time, you will develop your skills and confidence in crafting stunning apparel. Whether you’re making shirts for family gatherings, business promotions, or personal expression, your custom creations will undoubtedly leave a lasting impression.
Now, it’s time to gather your materials, unleash your creativity, and start making beautiful t-shirts that you can proudly wear or gift. Dive into the world of vinyl crafts, and watch as your ideas come to life!


